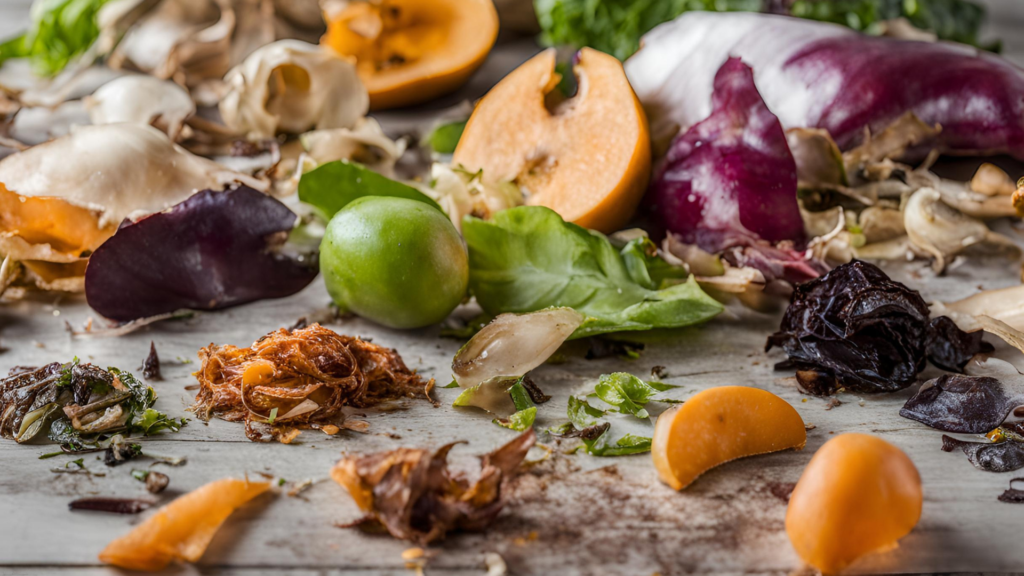
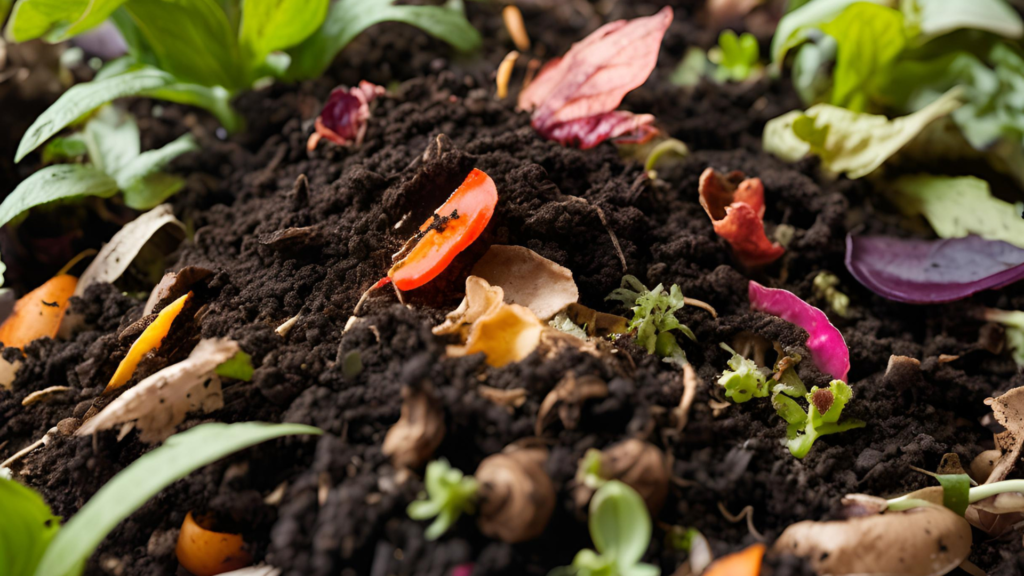
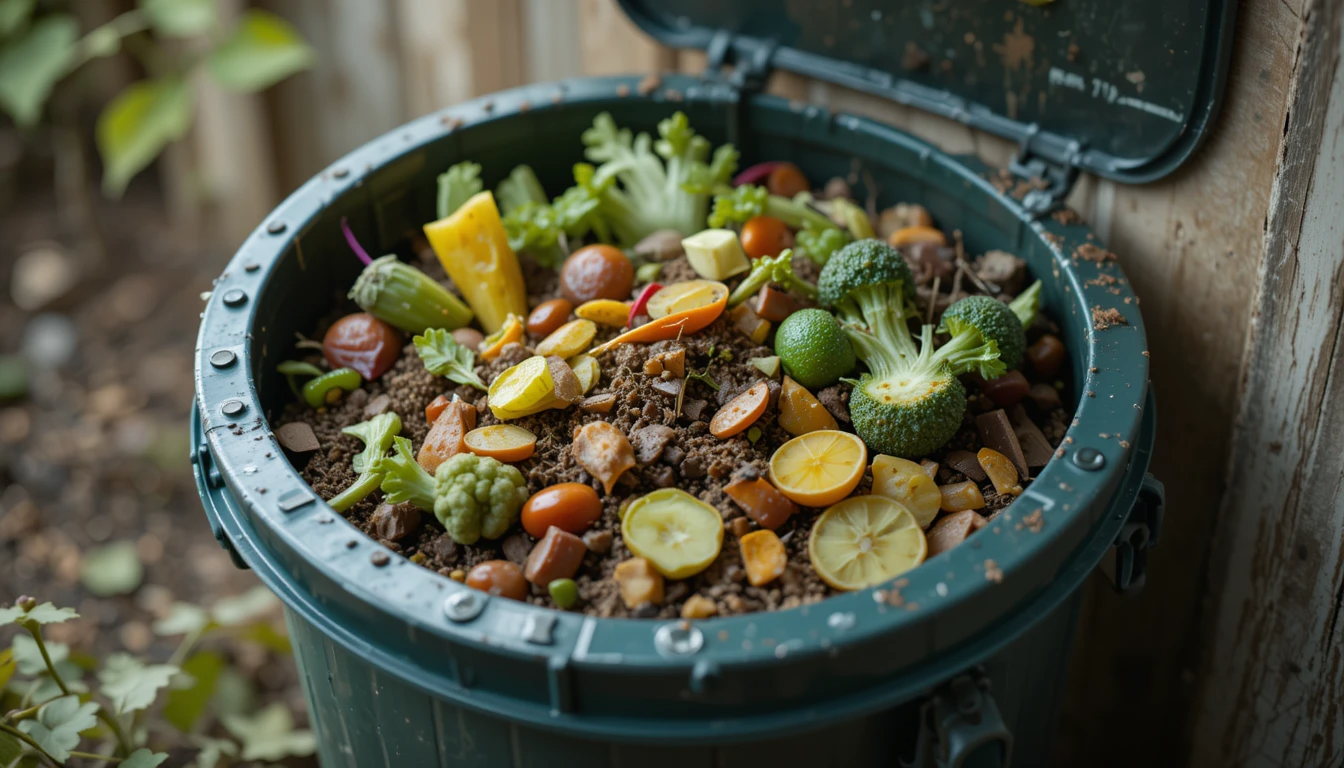
Composting in tight quarters is an incredibly rewarding process that changes kitchen waste into nutrient-rich soil for your plants. I’ve been doing it for years, and while it comes with it’s challenges, the benefits far outweigh any initial hurdles.
Whether you’re working with a tiny balcony, a cramped kitchen, or just a corner of your living room, there’s a small space composting solution that can work for you.
Understanding Small-Space Composting
Composting creates the ideal environment for organic matter to break down. In small spaces, we need to be more intentional about this process.
The key is balancing ‘green’ materials (nitrogen-rich items like fruit and vegetable scraps) with ‘brown’ materials (carbon-rich items like dry leaves or paper).
The ideal carbon-to-nitrogen ratio for compost is about 30:1. In practice, this translates to roughly equal parts green and brown materials by volume.
This balance helps control odor, speeds up decomposition, and creates nutrient-rich compost.
One of the biggest challenges in small-space composting is maintaining proper aeration. Without enough oxygen, your compost can turn anaerobic, leading to slow decomposition and unpleasant odors.
This is where specialized small-space composting methods come in handy.
Choosing Your Composting Method
Several methods work well in small spaces:
Vermicomposting
This method uses worms (usually red wigglers) to break down organic matter. When done correctly, it’s odorless and can be set up in a small bin under your sink or in a closet.
Worms eat through your food scraps, leaving behind nutrient-rich castings that make excellent fertilizer.
Vermicomposting is ideal for apartment dwellers as it’s compact and efficient. The worms do most of the work, breaking down food scraps quickly and with minimal odor.
However, it does require some attention to maintain the right moisture levels and avoid overfeeding.
Bokashi
Bokashi is an anaerobic fermentation process that can handle all food scraps, including meat and dairy. It’s fast and odor-free but needs a two-stage process.
First, you ferment the scraps in an airtight container with bokashi bran (a mix of useful microorganisms).
After about two weeks, you bury the fermented material in soil to finish the composting process.
This method is great for those who want to compost a wider range of food waste, including meat and dairy, which are typically avoided in traditional composting. The fermentation process also helps break down food quickly, reducing the risk of attracting pests.
Electric Composters
These countertop devices use heat and agitation to quickly break down food scraps. They’re convenient but can be expensive and energy-intensive.
Electric composters are perfect for those who want a hands-off approach to composting.
They can process food scraps in as little as 24 hours, producing a dry, nutrient-rich powder that can be used as fertilizer.
While they’re efficient and odor-free, electric composters have a higher upfront cost and ongoing energy use. They’re best suited for those who prioritize convenience and speed over eco-friendliness.
Tumbling Composters
Perfect for balconies or small outdoor spaces, these compact bins allow for easy aeration by turning. Tumbling composters are a step up from traditional compost piles, offering better aeration and faster decomposition.
By turning the bin regularly, you mix the contents and introduce oxygen, speeding up the composting process.
These are great for people who have small outdoor spaces who want to compost larger volumes than indoor methods allow. However, they do require some physical effort to turn regularly and may not be suitable for people who have mobility issues.
Setting Up Your Small-Space Composter

Let’s walk through setting up a vermicomposting system, one of the most popular methods for indoor composting:
1. Choose Your Bin
Select a plastic or wooden bin with a tight-fitting lid. Drill small holes in the sides and bottom for ventilation and drainage.
The size of your bin depends on how much food waste you generate, but a good starting point is a bin about 10-20 gallons in size.
Ensure the bin is opaque, as worms prefer darkness. If using a clear plastic bin, you can wrap it in dark paper or fabric to block out light.
Place a tray underneath to catch any excess moisture that drains out.
2. Prepare the Bedding
Shred newspaper or cardboard and moisten it. Fill the bin about 2/3 full with this bedding.
The bedding provides a comfortable home for your worms and helps balance the moisture and carbon content of your compost.
To moisten the bedding, soak it in water for a few minutes, then squeeze out the excess. It should feel like a wrung-out sponge – damp but not soaking wet.
Add a handful of soil or sand to provide grit for the worms’ digestive systems.
3. Add Your Worms
Red wigglers are the best choice for vermicomposting. Add about 1 pound of worms for every square foot of surface area.
You can order worms online or find them at local gardening stores or bait shops.
When you first add the worms, they may try to escape. This is normal behavior as they adjust to their new environment.
Keep the lid on and leave them alone for a day or two.
They’ll soon settle into their new home.
4. Start Feeding
Begin with small amounts of food scraps, burying them in different areas of the bin. Avoid overfeeding at first – start with about a cup of scraps per week and gradually increase as your worm population grows.
Chop or break up larger pieces of food to help the worms process it more quickly. Avoid adding meat, dairy, oily foods, or citrus fruits, as these can attract pests or make the bin too acidic.
5. Maintain Moisture
Keep the bedding as moist as a wrung-out sponge. If it’s too dry, mist it with water.
If it’s too wet, add more dry bedding material.
Proper moisture is crucial for the worms’ survival and efficient composting.
6. Harvest
After about 3-4 months, you can start harvesting your compost. There are several methods to separate the worms from the finished compost:
- Light method: Push the contents to one side of the bin and add fresh bedding and food to the other side. The worms will migrate to the new side over a few weeks, allowing you to harvest the finished compost.
- Dump and sort: Dump the contents onto a tarp in bright light. The worms will burrow down, allowing you to scrape off layers of compost from the top.
Use the harvested compost as a nutrient-rich addition to your potting soil or as a top dressing for houseplants.
Common Pitfalls and How to Avoid Them
Overfeeding
This is the most common mistake in small-space composting. Start slow and increase as your system (and worms) can handle it.
Overfeeding can lead to odors, attract pests, and create anaerobic conditions that are harmful to your worms.
Signs of overfeeding include food scraps that aren’t being consumed quickly, strong odors, or an influx of fruit flies. If you notice these signs, reduce the amount of food you’re adding and confirm you’re burying it properly in the bedding.
Moisture Imbalance
Too wet, and your compost will become anaerobic and smelly. Too dry, and decomposition slows down.
Aim for that wrung-out sponge consistency.
If your bin is too wet, add more dry bedding materials like shredded newspaper or cardboard. If it’s too dry, mist it with water or add moistened bedding.
Fruit Fly Infestations
Always bury food scraps and avoid adding too many sugary fruits at once. If you do get fruit flies, try setting out a small container of apple cider vinegar with a drop of dish soap to trap them.
You can also cover the surface of your compost with a layer of damp newspaper to deter them.
Odor Issues
If your compost starts to smell, it’s usually because of too much moisture or not enough brown materials. Add more browns and aerate your pile.
For vermicomposting, make sure you’re not overfeeding and that food scraps are buried properly.
A healthy compost bin should have an earthy smell. If you notice any strong, unpleasant odors, it’s a sign that something is off balance.
Adjust your green-to-brown ratio, confirm proper aeration, and check your moisture levels.
Adapting to Different Scenarios

Studio Apartment
Consider a compact bokashi system that can fit under your sink. Bokashi bins are sealed, so they won’t attract pests or release odors.
You can ferment your food scraps for a couple of weeks, then either bury the fermented material in a nearby community garden or donate it to a local composting program.
Small Balcony
A tumbling composter might be perfect. These compact units allow you to compost a larger volume of material than indoor methods, while still fitting in a small outdoor space.
The ability to turn the composter easily means you can aerate your compost without the need for manual turning with a pitchfork.
Long Work Hours
An electric composter could be your best bet. These units process food scraps quickly and with minimal effort on your part.
While they use electricity, they can be a good option for those who want to compost but don’t have the time for more hands-on methods.
Extremely Tight Quarters
Even a small countertop compost collector that you empty at a community garden or compost drop-off point can make a difference. Many cities now have compost collection programs or drop-off points.
By collecting your food scraps separately, you’re still diverting waste from landfills and contributing to the creation of valuable compost.
Building on Basics for Mastery
As you become more comfortable with small-space composting, you can start experimenting with different materials and ratios. Try making compost tea for your plants, or experiment with hot composting techniques if you have outdoor space.
Compost Tea
Compost tea is a liquid fertilizer made by steeping finished compost in water. It’s an excellent way to give your plants a nutrient boost.
To make it:
- Fill a bucket about 1/3 full with finished compost.
- Add water until the bucket is full.
- Let it steep for 24-48 hours, stirring occasionally.
- Strain the liquid and dilute it (about 1 part tea to 10 parts water) before applying to your plants.
Hot Composting
If you have a bit more space, hot composting can speed up the decomposition process significantly. This method relies on building a larger pile (at least 3 feet cubed) with the right mix of materials to generate high temperatures.
The heat kills weed seeds and pathogens, and can produce finished compost in as little as 6-8 weeks.
To hot compost:
- Collect a mix of green and brown materials.
- Build your pile, alternating layers of greens and browns.
- Keep the pile moist and turn it every few days to aerate.
- Monitor the temperature – it should reach between 130-150°F (54-66°C).
Understanding the science behind composting will help you troubleshoot issues and improve your system. Pay attention to the temperature, moisture levels, and the types of organisms you see in your compost.
Exercises to Reinforce Learning
Conduct a Waste Audit
For one week, separate your organic waste into greens and browns. This will help you understand your composting needs and potential challenges.
Keep a log of what types of food scraps you generate most often, and in what quantities.
This information will be invaluable in choosing the right composting method and scale for your needs.
Temperature Check
If using a traditional composting method, watch the temperature of your pile daily for a week. This will help you understand the composting process better.
Use a compost thermometer to track the temperature at the center of your pile.
A well-functioning compost pile should heat up to between 130-150°F (54-66°C) during the active phase of decomposition.
Experiment with Materials
Try adding different types of organic matter to your compost and observe how quickly they break down. Keep a log of what you add and how long it takes to decompose.
This will give you a better understanding of what materials work best in your specific composting system.
Some materials to experiment with:
- Coffee grounds (rich in nitrogen)
- Eggshells (add calcium and help with drainage)
- Shredded paper (good carbon source)
- Grass clippings (high in nitrogen, but be careful not to add too much at once)
- Leaves (excellent carbon source, but may take longer to break down)
Key Takeaways
- Small-space composting is possible with the right method and setup.
- Balance green and brown materials for optimal decomposition.
- Proper moisture and aeration are crucial for odor-free composting.
- Start small and gradually increase as you become more comfortable with the process.
- Regular monitoring and maintenance are key to successful small-space composting.
People Also Asked
What can I compost in a small apartment?
In a small apartment, you can compost most fruit and vegetable scraps, coffee grounds, tea bags, eggshells, and small amounts of shredded paper or cardboard. Avoid meat, dairy, and oily foods in indoor composting systems.
How do I start composting if I don’t have a yard?
You can start composting without a yard by using methods like vermicomposting (worm bins), bokashi fermentation, or electric composters. These methods are designed for indoor use and can fit in small spaces like under a sink or in a closet.
Can I compost in my kitchen?
Yes, you can compost in your kitchen using compact methods like countertop bins, bokashi systems, or small worm bins. These methods are designed to be odor-free and pest-resistant when managed properly.
How long does it take to make compost in a small space?
The time to make compost in a small space varies depending on the method. Vermicomposting can produce usable compost in about 3-4 months.
Bokashi fermentation takes about 2 weeks, plus extra time for the fermented material to break down in soil.
Electric composters can process food scraps in as little as 24 hours.
What’s the best indoor composting method for beginners?
For beginners, vermicomposting is often recommended as it’s low-maintenance, effective, and can be done in a small space. Worms do most of the work, breaking down food scraps quickly and with minimal odor when managed correctly.
How do I prevent odors when composting indoors?
To prevent odors when composting indoors, maintain a proper balance of green and brown materials, avoid overfeeding, confirm good aeration, and keep the compost moist but not wet. Burying food scraps under bedding material also helps control odors.
Can I compost if I live in a high-rise apartment?
Yes, you can compost in a high-rise apartment using indoor methods like vermicomposting, bokashi, or electric composters. These methods are designed to be compact and odor-free, making them suitable for apartment living.
What should I do with my compost if I don’t have a garden?
If you don’t have a garden, you can use your compost for houseplants, donate it to community gardens, give it to gardening friends, or use it in container gardens on a balcony or windowsill. Some cities also have compost collection programs where you can contribute your finished compost.
Is it safe to compost indoors?
When done correctly, indoor composting is safe. Choose a method suitable for indoor use, like vermicomposting or bokashi, and follow proper maintenance practices.
These methods are designed to be odor-free and pest-resistant when managed correctly.
How much space do I need for a small compost bin?
A small compost bin can be as compact as a shoebox for a mini worm bin, or up to about 20 gallons for a larger vermicomposting system. The size depends on the amount of food waste you generate and the composting method you choose.
Many indoor composting systems are designed to fit under a kitchen sink or in a closet.
This website contains affiliate links, meaning I may earn a commission if you click through and make a purchase, this is at no additional cost to you. I only recommend products and services I genuinely believe in.
